Setting Up AV-Sync
This guide walks you through the complete process of setting up AV-Sync to synchronize audio with video displays in your exhibit.
Step 1 — Process your video files
Section titled “Step 1 — Process your video files”- Download the AV-Sync Video Tool (Windows)
- Load your original video file into the tool
- The tool generates two outputs:
- A video file with an embedded timecode track
- A separate audio file for the Guide-ID platform
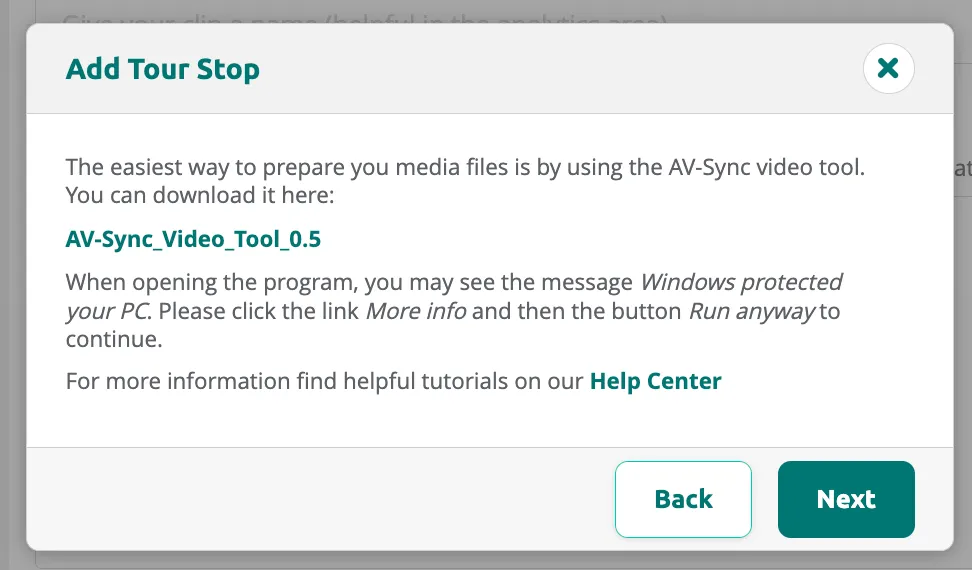
Once your files are ready, create an AV-Sync stop in the Tour Editor. Click Add Stop and select Audiovisual Sync Tour Stop as the stop type. The dialog also provides a download link for the AV-Sync video tool.
After creating the stop, it appears in the stop list with a video camera icon to distinguish it from regular audio stops.

Video: AV-Sync in the Platform
Section titled “Video: AV-Sync in the Platform”Transcript
- Now let's set up AV-Sync in the Platform. Open your tour, and click Add Stop.
- Give the stop a name, and choose Audiovisual Sync Tour Stop.
- The next screen links to the AV-Sync Video Tool, which prepares your film. Click Next.
- The new stop has a camera icon, so you can recognise it in the list.
- Upload the narration that the Video Tool made for this film: click Select file, and choose the audio file.
- Then open Stop settings.
- Enter the video code. It starts with A1, for example A101, and it must be the same code you used in the Video Tool.
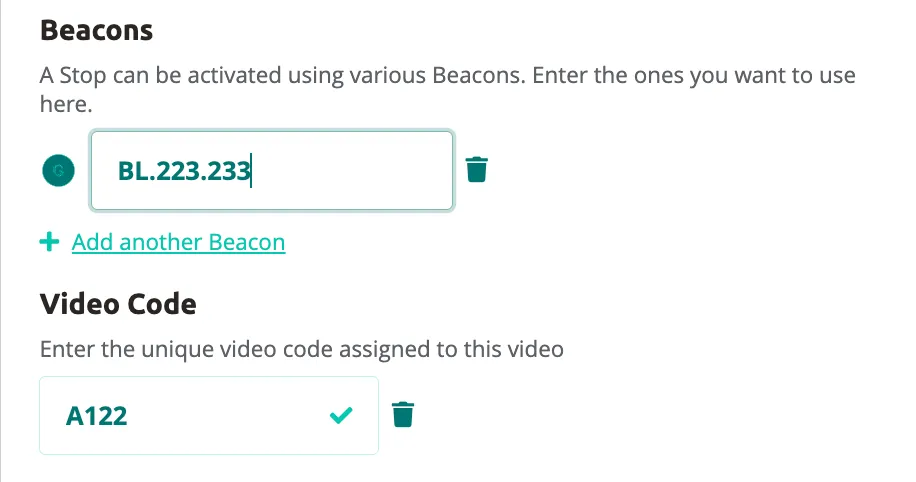
- Add the beacon at the screen: click Add Beacon, and type the number printed on the beacon.
- The green check mark means the video code is correct. Save the settings.
- Finally, publish your tour, so the audio and the video code reach your Podcatchers.
- That is it: when the film plays, your visitors hear it in their own language.
Step 2 — Assign a video code
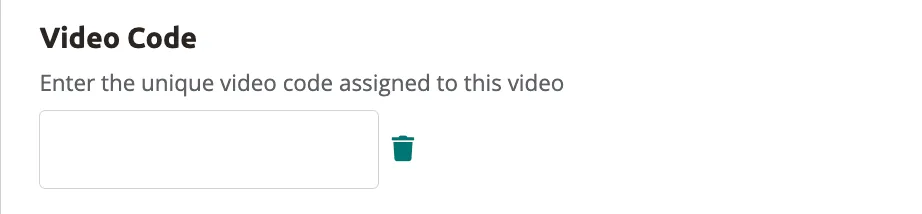
Section titled “Step 2 — Assign a video code”Each video requires a unique identifier starting with A1 (for example, A101 or A102). Enter this code in the Video Code field of the AV-Sync stop.
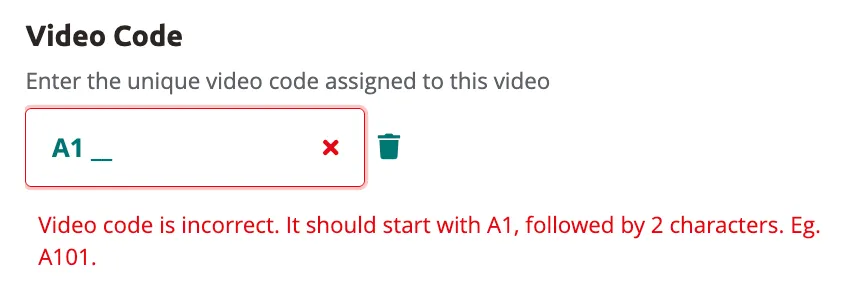
If the code does not follow the correct format, a validation error is displayed. The code must start with A1, followed by exactly two characters (for example, A101).
Step 3 — Configure the platform
Section titled “Step 3 — Configure the platform”- Upload the audio file to a dedicated AV-Sync stop in the Guide-ID platform
- Pair the stop with the corresponding video code
- Assign the correct beacon identifier to the stop
When a beacon is assigned and the video code is valid, a green checkmark confirms the configuration is correct.
Video: connecting the Brainbox
Section titled “Video: connecting the Brainbox”Transcript
- There are two ways to connect the Brainbox to your media player: with an audio cable, or, with a BrightSign player, over USB.
- The first way works with any media player.
- Connect the audio output of the media player to the 3.5 millimetre audio input of the Brainbox.
- Power the Brainbox with a USB-C charger.
- Set the volume of the media player to about thirty to forty percent.
- Then press the switch on the Brainbox. The light turns orange while it calibrates itself.
- Play the film. When the light blinks green, the Brainbox hears the timecode.
- Would you like the film's own sound in the room as well? Choose room audio in the AV-Sync Video Tool. The left channel goes to your speakers, the right channel to the Brainbox.
- Always use the 3.5 millimetre jack for the audio. The round RCA socket is not an audio input.
- With a BrightSign player, one USB cable is enough.
- It powers the Brainbox, and passes on which film is playing and how far along it is. No timecode track needed.
- It works the other way round as well: when a visitor scans the beacon, the BrightSign can start the matching film.
- Your AV integrator sets this up once in BrightAuthor. The steps are on our help pages.
- The light on the Brainbox tells you how things are going. Blinking green: everything works.
- Orange: it is calibrating.
- Blinking red: there is sound, but no timecode. Check the video file, or the cable.
- And when the light is off, no sound is reaching the Brainbox.
- In the next video, we set up AV-Sync in the Platform.
Step 4 — Connect the hardware
Section titled “Step 4 — Connect the hardware”- Connect the Brainbox to the media player’s audio output via a 3.5 mm audio jack
- Power the Brainbox through USB-C
- Set the media player volume to 30–40% (recommended)
Step 5 — Calibrate and test
Section titled “Step 5 — Calibrate and test”- Press the switch button on the Brainbox to start Auto Gain calibration
- Wait for calibration to complete
- Test with a Podcatcher Pro to verify audio synchronization
LED indicator reference
Section titled “LED indicator reference”| LED state | Meaning |
|---|---|
| Green blinking | System functioning correctly |
| Solid orange | Auto Gain calibration in progress |
| Red blinking | Audio detected but timecode signal missing |
| Off | No audio signal detected |
Related articles
Section titled “Related articles”- Understanding AV-Sync — how AV-Sync works
- AV-Sync Using BrightSign Plugin — alternative timecode method
- Understanding the Brainbox — learn about the Brainbox hardware